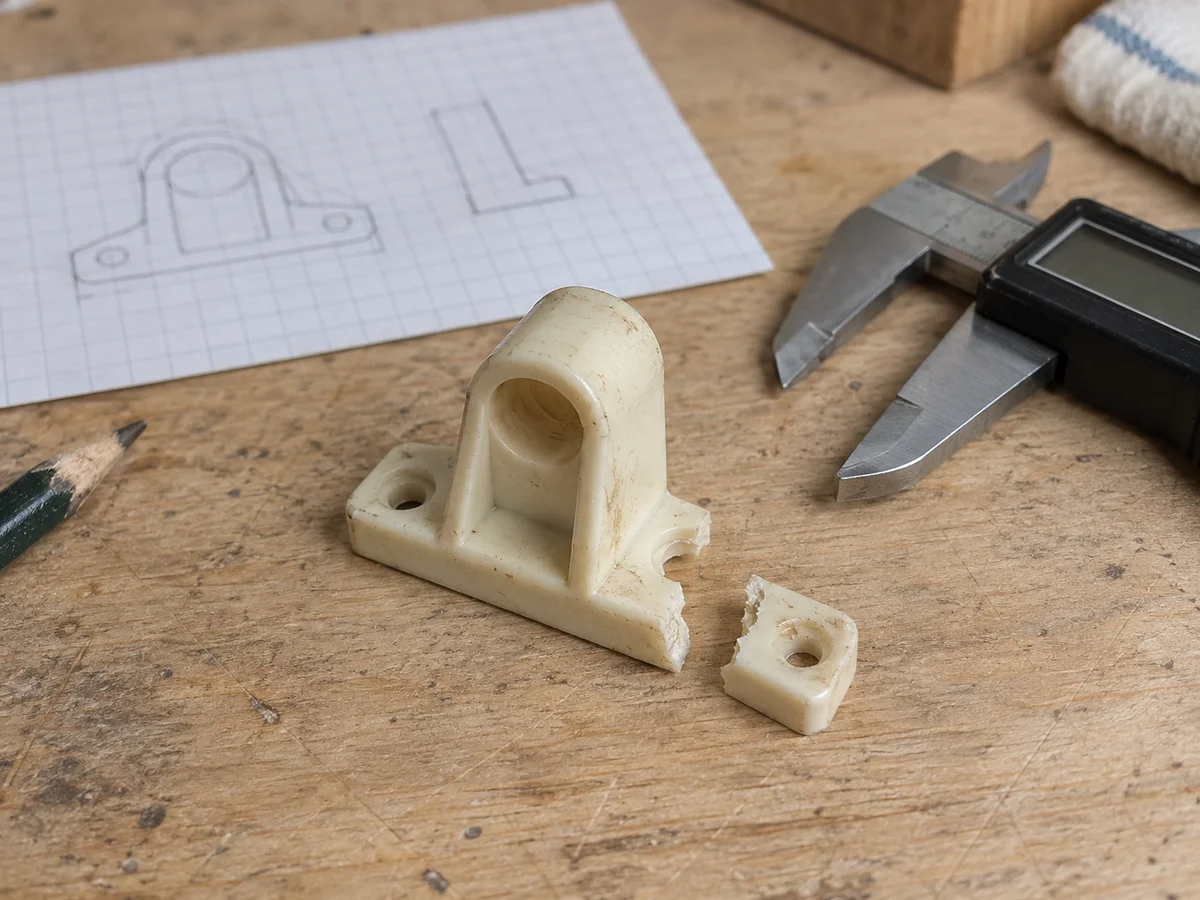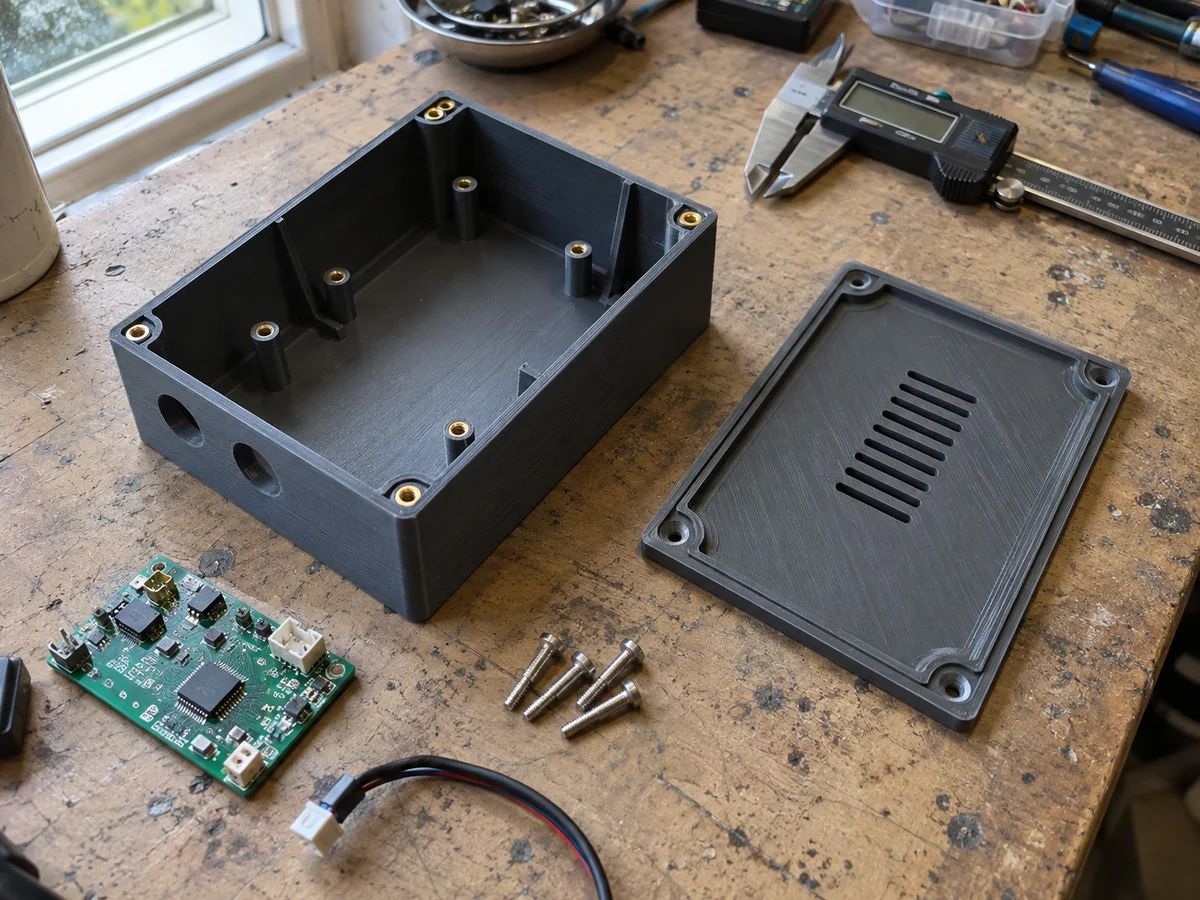
Measure the actual sign
Supply its height, width, thickness, and weight, plus a photo showing its shape. Identify the material and any protective layer or backing. If the sign has not been made yet, provide the intended specification and mark it as provisional so the fit can be checked against a sample later.
Define the slot and viewing angle
Show which edge should sit in the base and whether the sign needs to be removable. State the preferred display angle and how much of the artwork can be covered. The design should account for fit clearance rather than assuming a slot equal to the measured thickness will be suitable.
Show the available footprint
Measure the counter, shelf, or table space and photograph nearby objects. Explain ordinary handling, transport, and any outdoor use. A tall sign on a compact base requires a physical stability check; appearance alone cannot establish that it will remain upright.
Agree on the visible finish
Share references for color, texture, and which surfaces guests will see. Discuss the appearance of printed layers and any additional finishing before approving the quote. A physical sample is the best way to agree on a finish for a coordinated set.
Confirm the date after the sample scope
Include quantity and the event or installation date in the first brief. Allow the proposal to account for design, a sample, review, and repeat production. Keep sign revisions and base revisions paired so a later change in sign thickness does not create a mismatched batch.