1. Describe one operation
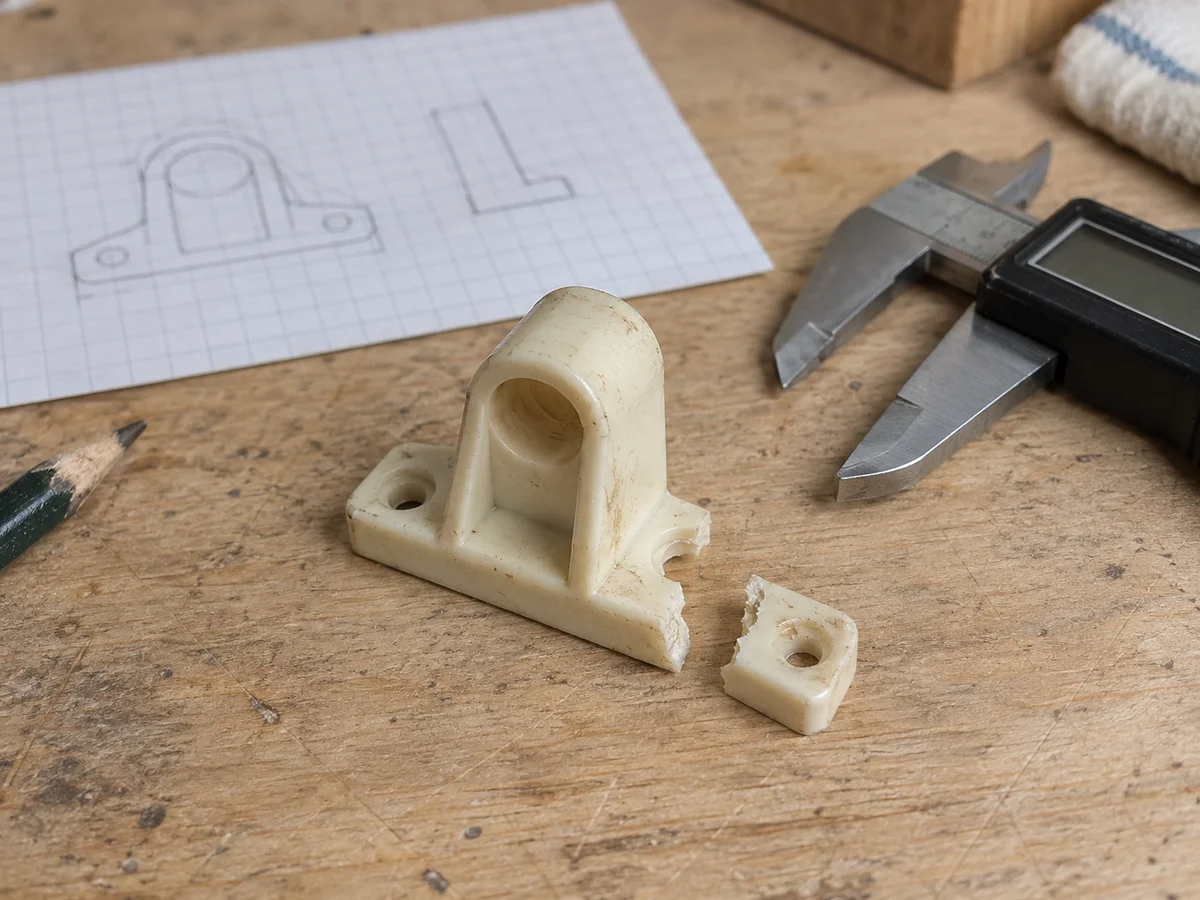
Explain the task in sequence: where the workpiece sits, what must align, and what the operator does next. Examples include marking a hardware pattern or maintaining a gap during assembly. Photograph the current method. Specify whether the proposed part is a layout aid, a spacer, or a holder.
2. Pick a repeatable reference edge
Choose the edge or surface from which the positions are measured and label it on a sketch. Record center-to-center hole spacing, edge offsets, thickness, and which face is up. Avoid mixing measurements from different reference edges without identifying them.
3. Identify the exact hardware and contact surfaces
Include the hardware drawing or dimensions, screw sizes where relevant, and the workpiece material. Explain where the template touches a finished surface and which areas need access. If a tool will contact the printed part directly, state that explicitly so wear and the appropriate construction can be assessed.
4. State the accuracy the task needs
Distinguish approximate layout from a dimension that must be held accurately. Explain how you will check the first part and what would make it unacceptable. Include any clamp forces, heat, repeated wear, or failure consequences. The design and quote need those requirements before production.
5. Trial it on a sample workpiece
Use an appropriate sample to check positioning, handling, and access before applying a new aid to finished work. Record the revision and measured results. Once the process works, request copies against that approved version; changes to the hardware or operation call for another review.