Check for an available replacement first
Look for an original part number, manufacturer drawing, or compatible stock replacement. A readily available part may be more economical than custom design. Reproduction is worth exploring when a fitting is unavailable, the required size is unusual, or several matching copies would be useful.
Preserve what the original tells you
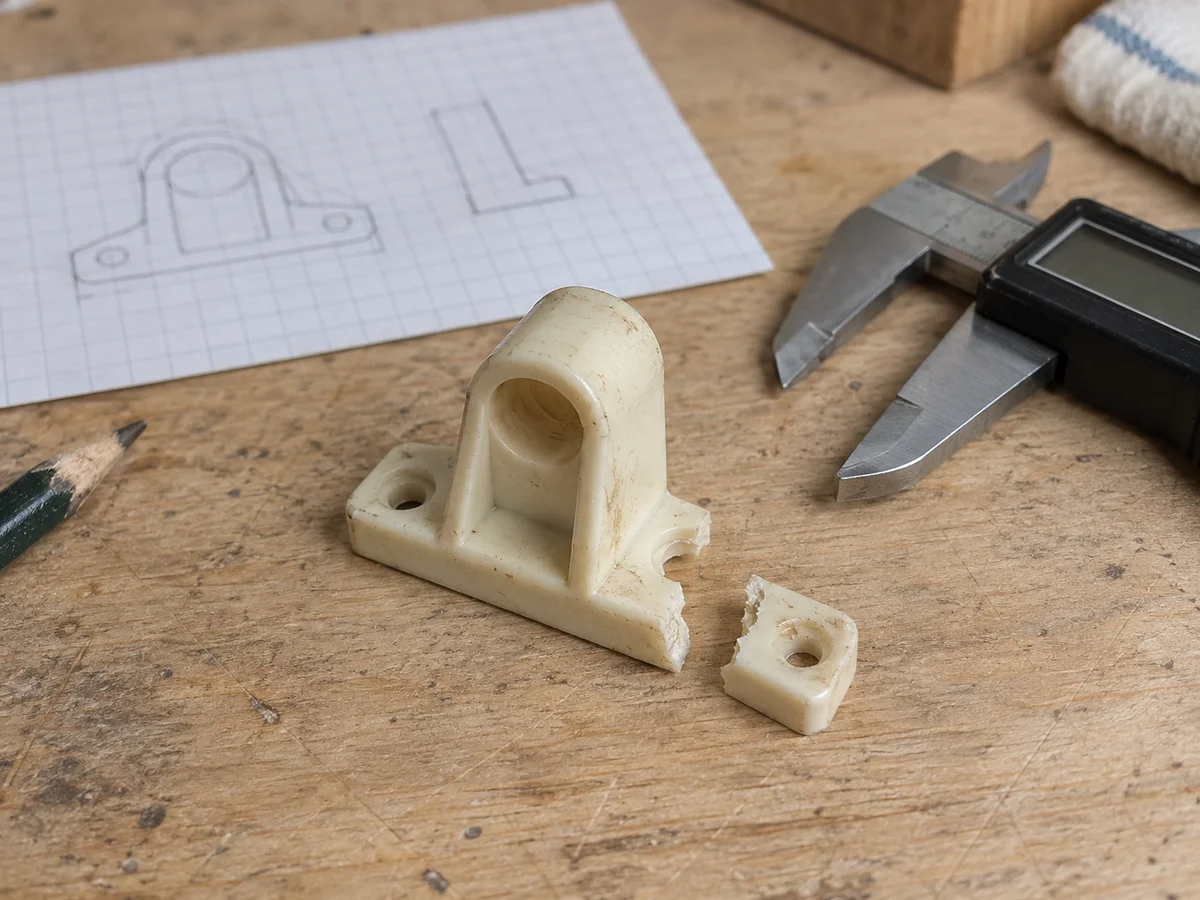
Photograph all surviving pieces before discarding anything. Show the part in its installed position and removed, including its underside and connections. Identify damage and any previous repairs. A missing edge should be recorded as missing, rather than measured as though the damaged piece were complete.
Separate the outside shape from the fit
Measure the overall envelope, then the features that connect to the assembly: hole spacing, shaft shape, mounting faces, tabs, and surrounding clearances. State units and the source of each measurement. Reference photos help explain shape, but perspective cannot establish precise fit.
Explain the conditions it must handle
Describe the function, loading, temperature, moisture, chemicals, and consequences of failure. We can review small cosmetic caps, knobs, furniture fittings, and similar requests. Some applications need original components or a different production process; copying an outline does not establish equivalent performance.
Approve one replacement before a batch
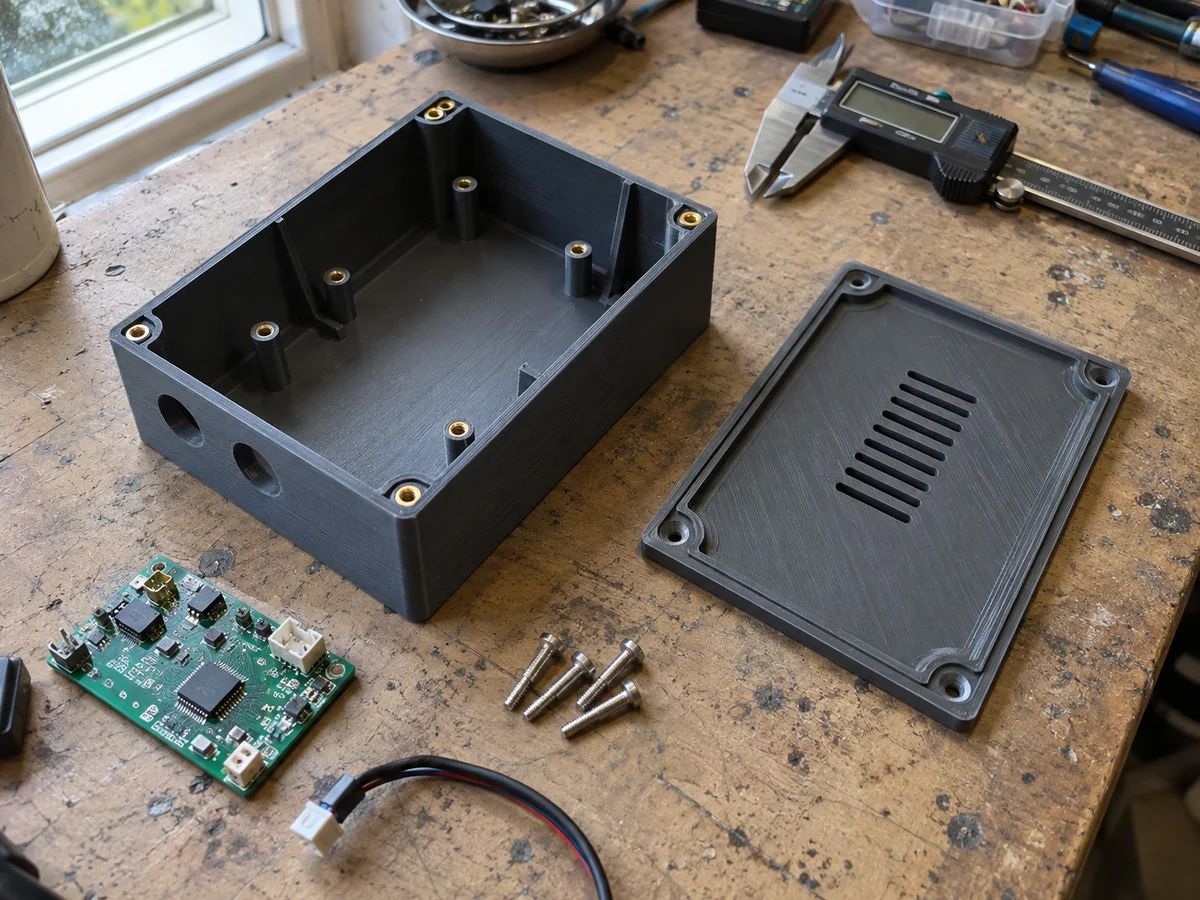
The first physical part should be checked against a specific acceptance list. Record how it fits, moves, attaches, and behaves in its intended use. Keep the approved revision and any changes together for future reorders. Photos of a successful print are useful evidence of appearance, not proof of every functional requirement.